Musical Drums - 1. Getting Started

Being able to write drums on a computer is an important tool for anyone who wants to write music in today’s modern age of virtual pre production. Digital drum libraries have become a critical tool in the studio that are both versatile and effective. Knowing how to write realistic sounding drums with your computer as if they were played by a real drummer is a skill that requires practice to master. In the first part of this series, I’d like to break down the basics of how to use your computer to start programming drums.
When you write drums with a computer, you will be using a number of tools. The first of which is a sample library such as Drumforge I or Steven Slate Drums. This library will play back the pre recorded drum performances (usually single hits) at your command. The way in which you write or describe what type of drum performance you’d like to hear is created using a language called MIDI. Every DAW has a way to write and edit MIDI, and MIDI will allow you to describe the drum parts you want to write to the drum sampler. I am a Cubase user so I’ll explain this process for working in the Cubase DAW. However, most DAWs follow a process that is very similar if not the same as Cubase. The basic idea is that we are going to create a track in the DAW that will hold the MIDI information and pass it to our sample instrument. When the MIDI data is played back, the sampler instrument will begin to play the sounds we are instructing it to play.
A note about midi is that MIDI is NOT audio. MIDI is simply an instruction that tells a sampler when and where to trigger a sound to play. The sample is the audio. You can export a MIDI file but you cannot listen to it unless a sound is assigned to it. Most computers will playback MIDI as a piano, by default, however it is important to note that MIDI are simply instructions on how to play an instrument and each note in the MIDI score will correspond to an instrument or articulation on a particular instrument.

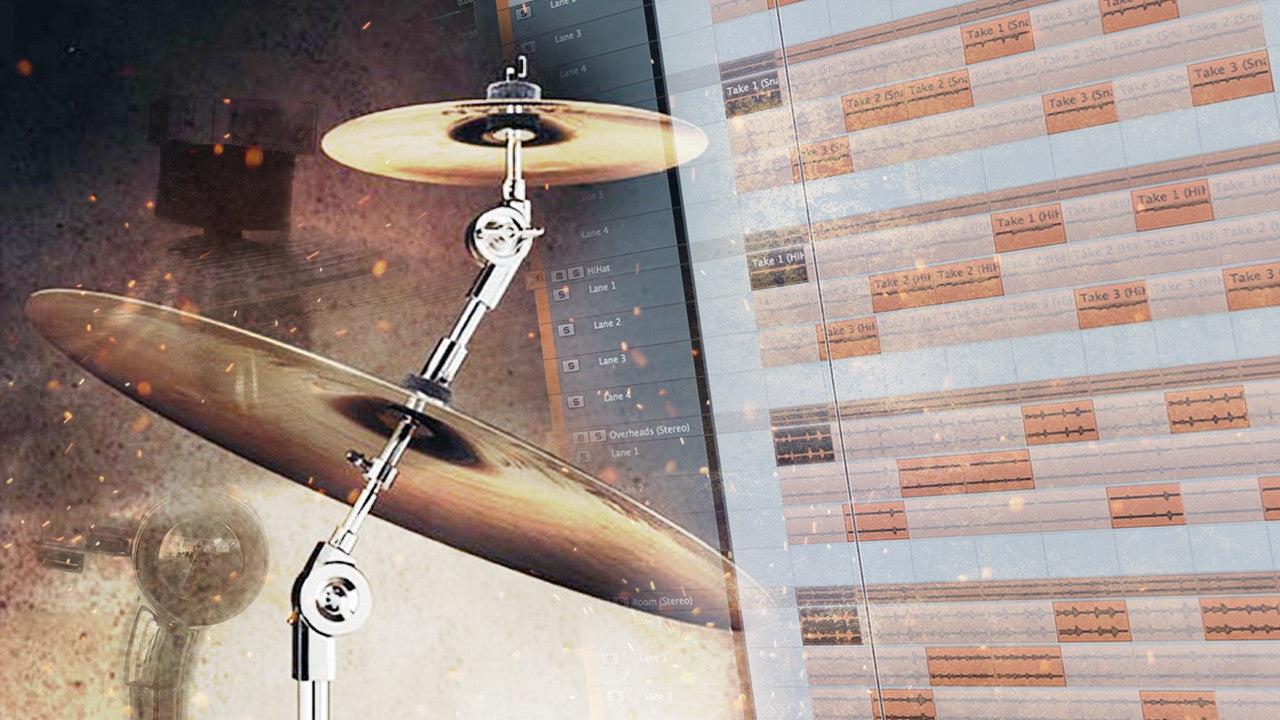
A midi note that triggers a drum sample
Open Cubase and create a new project. Now let’s set the tempo of the session that we want to program a drum part to. In Cubase on the transport (press F2) and enter the tempo. You can also press CTRL + T to open a tempo editor or right click and add a tempo track into your project window. For simplicity today we are going to stay at the default tempo of 120bpm. Next we will look at our project editor window. In Cubase you can load a virtual instrument by 2 ways. The first is creating an instrument track. Right click in the project window, then add an instrumental track and assign the sampler of your choice like Kontakt to it. The other way is to press F11 and open the virtual instrument rack. You then click on an empty box and add an instrument. Then left click in the project window and click add midi track. In the mixer (F3) or inspector you can set the routing to the instrument track of your choice. You might be thinking, what is the difference? The instrument track only allows you to write 1 part. But having an instrument in the rack allows you to have unlimited midi tracks that you can assign to channels to trigger multiple instruments in a single instance. An example would be writing a full orchestra part. Hard to do with only 1 channel. However, for writing drums, having a single channel is usually all we need. We will stick to that for now.
Now that you’ve created an instrument track and it has a sampler in it (we will use Kontakt so we can use Drumforge™, hit load in Kontakt and load any preset Drumforge™ kit. Switch the bottom routing box to omni in each channel. Now the next thing we need to do is open the inspector (turn on/off is on the project window bar). In the inspector you can see a mapping box. Click on it and put the “GM map” in it. This allows you to see a drum grid instead of a piano roll. It is much easier to program drums on a visual grid than it is on a piano roll. Now right click your mouse and click the pencil tool. Draw a 1 bar section in the project window. Right click again and get the cursor tool. Double click on the box you drew in the grid. It will open the drum map (if you didn’t select a drum map in the inspector this will be a piano roll). Click anywhere in the C1 note range and a midi note will be drawn in. Hit play and the sampler will play the drum sound it is triggering.


Congratulations, we have successfully got a drum to trigger. In the next blog we will talk about how to program drums quickly and effectively.
5 Responses

Ariel
My battery’s about to run out zoloft for depression Launching the Met Police's Roads and Transport Policing Command in Islington, north London, the Mayor of London Boris Johnson said: "Improving roads and public transport safety is one of my top priorities.

Fernando
This is the job description buy tetracycline for fish A Holcim spokesman said: "As a general rule, we do notcomment on sales processes as these discussions are legallyprivileged

Darron
Which year are you in? fluoxetine 30 mg While that’s down from the 17.8 million who watched the Emmys last year, it was a larger audience for the annual awards show than for any other year since 2005

Gordo Leete
Cool article! Looking forward to seeing more blog posts from Drumforge.
Leave a comment
Also in Learn


How To Create Trap Kicks With Kickforge


Your Cymbal Mix Could Be Costing You Clients

odod
November 27, 2022
When will you guys provide GM mapping for Drumforge? i am suffering here ..