Musical Drums - 2. Writing and Humanizing with Midi
In the last blog, we talked about how to setup a session in a DAW to start writing midi drums. This time we are going to write a drum groove and learn how to navigate the midi drum editor. We are also going to take a look at how to make midi drums sound more human and less programmed.
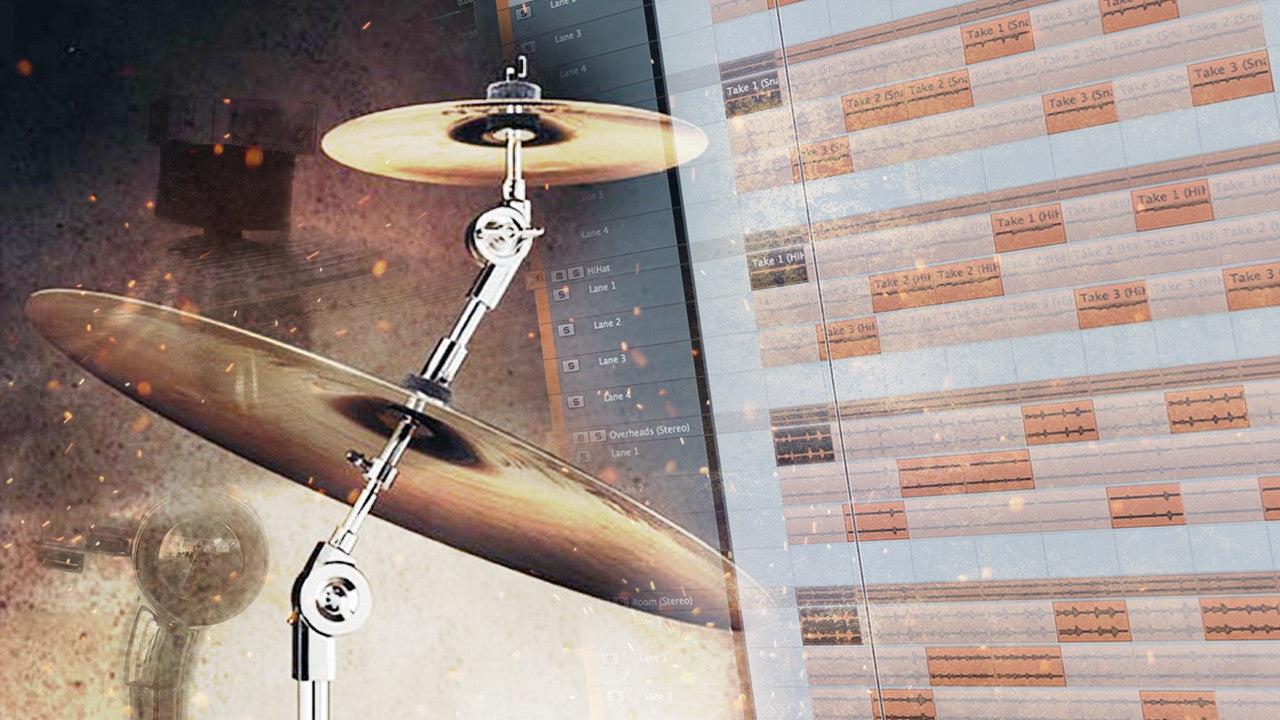
When you double click on a midi event in Cubase, it opens the drum editor, provided you followed the instructions on the last blog. Once you are in the drum editing window, there are many things we can do. If you look to the left of the screen you will see a grey column that tells you the mapping. This means which note is assigned to what drum. It is important to note that nearly every drum sampler on the market uses it’s own proprietary mapping. Consult the manual for your sampler to know how each articulation is mapped. For simplicity’s sake, we are going to use cubases’s stock GM mapping. So, the note C1 is a kick drum and so on.

Cubase's Standard GM map
Now that we know what drum is mapped to what, let us start writing. If you right click on your mouse and select the wand tool, you can draw dots, which play back midi drums on your grid. It is important to note that on the info line in the editor, located on the top, there is a large Q, a note value, and a “*.” Make sure the “*” is clicked so that you can have the wand tool snap your drum hits to the grid. It makes writing a lot faster. This automatically syncs the quantize value to whatever it is set in the session. Write out a basic drum part in a 4 bar loop with the wand tool.
Let us now look at velocities. Velocity allows you to add dynamics into your drum programming. Very useful for realism! At the bottom of the editor is a break line. In that box you will see the word velocity on the left side. Below each note you will see a vertical line. If you hover your mouse over it and click you can raise and lower the velocity of the drum. Click and move it up and down to see what your drum sample sounds like at different levels. Cubase allows you to set a default velocity for each value for each new note you write. To do this, right click, then click functions, then fixed velocity. Enter the number you want. I usually like to write with 127 (the hardest velocity) and then write in dynamics in my fills.

Now that we know how to quantize drums and adjust velocity, the most important two tools for writing musical drums are out of the way. The next question is how do we make a programmed performance more realistic? Simple. Cubase has what is called the “Logical Editor” which allows you to do this quickly and easily by adding randomness to your velocities and note positions on the grid. To access the logic editor, simply click on Midi in menu bar at the top and the program and then half way down the list is a Logical Editor. Click that and it opens a box. Below are screenshots showing the inputs to get randomization in velocity as well as note position on the grid. Enter the values you see below, highlight the midi notes in the drum editor you want to modify and then hit the apply button. In the parameter box (logical editor), you can play with the values to find the velocity and note positioning that fit your song best.

This shows you how to setup the logical editor to randomize velocity. Change parameter 1 and 2 to set ranges.

This shows you how to setup the logical editor to randomize note position. Change parameter 1 and 2 to set ranges.
Aside from dialing in random note position and velocity into your midi part, a very important part of making drums human is drawing in the drum fill velocities by hand (note: for the sake of programming speed, I prefer to write with everything at a fixed velocity but then do all dynamics by hand). This is especially needed on snare drum and tom rolls. When you hover the mouse over a selected note's velocity a pencil tool will pop up. Use that to draw in curves. Worth noting is that when you right click your mouse, different types of lines like parabolas can be drawn. To do this hold down left click and hover over the line tool and then right click and a sub menu with show up with different lines. Also note that this can be accomplished on the top tool bar by clicking twice on the line tool. This is also very useful for rapidly drawing parts like tom and snare build ups.
Thanks for reading and next time we will tackle how to write musical drums in the context of a song.
Leave a comment
Also in Learn


How To Create Trap Kicks With Kickforge


Your Cymbal Mix Could Be Costing You Clients